ビューワの使用(Vue)
Vueアプリケーションを作成する
新しいVueアプリケーションを作成する簡単な方法はnpmパッケージのVue CLIを使用することです。
Vue CLIを使用するためには事前にNodeJSがコンピュータにインストールされている必要があります。
Vue CLIをインストールするにはコマンドプロンプトで次のコマンドを入力してインストールします。
npm install -g @vue/cli上記コマンドはグローバルにインストールする -g オプションを使用しているため、一度インストールした後の再実行は不要です。
コマンドプロンプトで次のコマンドを入力して、新しいVueアプリケーションを作成します。
vue create arjs-vue-viewer-app作成したディレクトリを作業ディレクトリとします。次のコマンドを入力して作業ディレクトリに移動します。
cd arjs-vue-viewer-app次のコマンドを入力してActiveReportsJSのVue対応パッケージ、およびビューワを日本語化するためのローカライズパッケージをインストールします。
npm install @grapecity/activereports-vue @grapecity/activereports-localizationVue 2.X.Xを使用する場合、@vue/composition-apiパッケージも合わせてインストールする必要があります。
npm install @vue/composition-apisrc\App.vueファイルを開き、以下の内容を設定します。
<template>
  <div id="viewer-host">
    <JSViewer :report="{ Uri: 'reports/quick-start-sample.rdlx-json' }" language="ja"></JSViewer>
  </div>
</template>

<script>
  import { Viewer } from "@grapecity/activereports-vue";
  import "@grapecity/activereports/styles/ar-js-ui.css";
  import "@grapecity/activereports/styles/ar-js-viewer.css";
  import "@grapecity/activereports/pdfexport";
  import "@grapecity/activereports/htmlexport";
  import "@grapecity/activereports/xlsxexport";
  import "@grapecity/activereports/tabulardataexport";
  import "@grapecity/activereports-localization";

  export default {
    name: "App",
    components: {
      JSViewer: Viewer
    }
  };
</script>

<style>
  #viewer-host {
    width: 100%;
    height: 100vh;
  }
</style>public\reportsディレクトリを作成し、サンプルレポートを作成するで作成したquick-start-sample.rdlx-jsonファイルを配置します。
次のコマンドを入力してVuerアプリケーションを実行します。
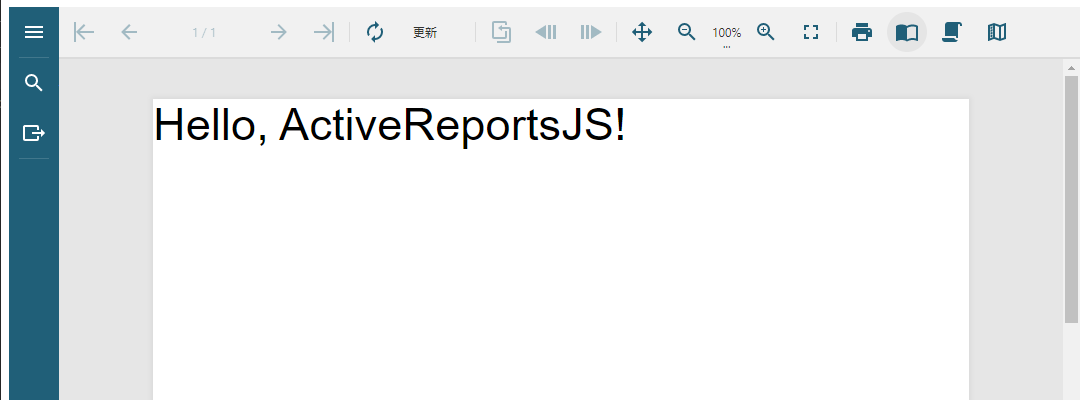
npm run serveブラウザで「localhost:8080」を参照し、アプリケーションを表示します。

